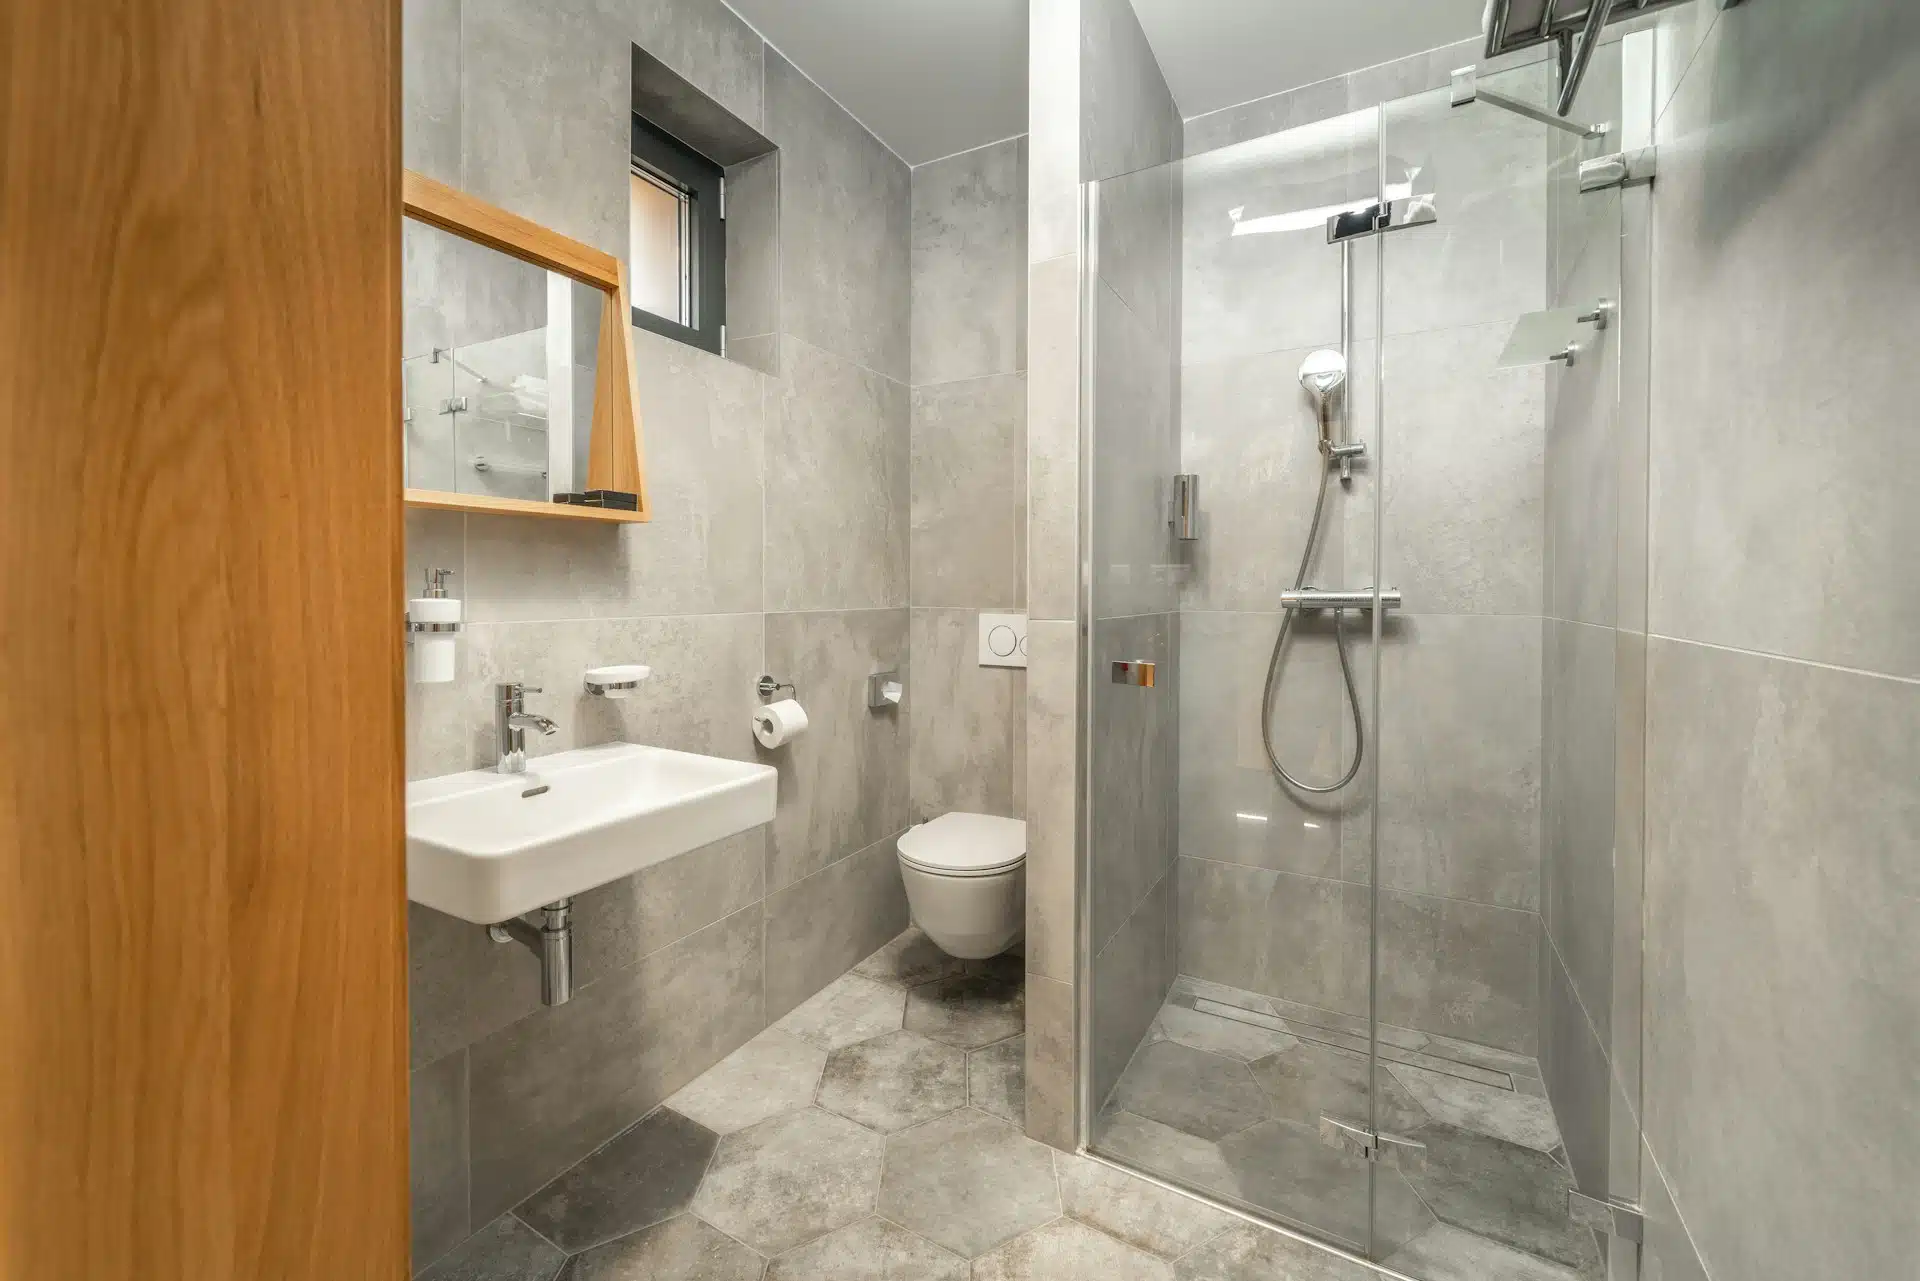
Bathroom remodels often come with a long list of decisions. One part that doesn’t get talked about much but makes a big difference is the toilet. It might seem like just another fixture, but a toilet installation can impact everything from how the room looks to how it works every day. For families in Southwest Florida, where humidity and plumbing challenges can creep in now and then, getting this part done right really matters.
Toilet installation services are more than just setting the base and hooking up a line. They connect to plumbing, sit on finished flooring, and need to work smoothly without leaks or wobbles. Here’s a full look at how we handle installs during a remodel, step by step, so the job isn’t just done, but done with care.
Getting Prepped Before the Toilet Goes In
Timing matters when it comes to putting in a new toilet. In most remodels, it gets added closer to the end, after tile work is finished and the plumbing is confirmed. Putting it in too early can lead to damage or extra work if something shifts.
The space around the toilet needs to be completely ready. That includes:
• Level floors that can support the base without rocking
• Walls that line up with any trims or water lines nearby
• Plumbing that’s been checked and cleared
We always double-check the rough-in measurement, which is the distance from the wall to the drainpipe center. If that’s off by even a little, the toilet base won’t sit right. It’s better to catch problems now than during installation. Planning ahead like this stops headaches before they start.
Choosing the Right Toilet for the Room
Not every toilet fits every space. In compact bathrooms, especially guest or half-baths, we often look at shorter, round models or ones that tuck into corners. That frees up space and keeps the room feeling open, even if it’s small.
Other things homeowners think about include:
• Water-saving flush options
• Taller seat heights for comfort
• Coated surfaces for easier cleaning
Matching the right toilet to the layout, tile color, or nearby vanity can pull the whole remodel together. During the planning phase, we walk through style and shape options so nothing feels out of place once the rest of the bathroom is complete.
The Steps Contractors Follow During Installation
Once the room is ready and the toilet is on site, the install can begin. There’s a clear order we follow to make sure the result is firm, clean, and problem-free.
1. We start by setting a new wax ring on the flange, which keeps odors and water from leaking.
2. Then we lower the toilet into place, lining it up with the bolts, and press it down so the seal holds.
3. Bolts are tightened, but never too strong, since too much pressure could crack the base.
4. The water line is connected, and we check for drips where it joins the valve.
5. Finally, we make sure the toilet is level and use caulk around the base for an extra seal.
Even small touches like bolt covers and smooth sealant lines matter. They make the toilet look finished and stop moisture from seeping under the edges.
Common Installation Issues and How Pros Avoid Them
It doesn’t take much to turn a brand-new toilet into a problem spot if it isn’t installed right. That’s where experience makes all the difference. Loose bolts, uneven floors, or a tilted base can lead to problems like wobbling, which puts pressure on the pipes. That stress can lead to leaks or cracks over time.
Here are a few common issues we work to avoid:
• A bad seal where water leaks at the base
• Clogged drains caused by misaligned placement
• Rocking toilets from uneven floors or poorly spaced bolts
By using proper materials and taking the time to measure and align everything correctly, we keep those issues from showing up after the job is done.
Final Checks and Clean-Up
Once the toilet is connected, sealed, and bolted down, we do a full function check. We flush a few times, make sure the bowl fills and empties as it should, and keep an eye out for any slow drips. The connection point between the water line and tank gets an extra glance since those can loosen slightly after a few flushes.
Clean-up matters, too. We:
• Remove packaging, extra sealant, and dust from the floor
• Double-check for leftover tools or hardware
• Wipe everything down so the space looks ready right away
A clean, complete install means no messy seams, no lingering glue, and no chance for mold or mildew to build up around the base. It also means the homeowner doesn’t walk into small details left undone.
Finishing Strong: Why a Solid Install Makes All the Difference
Toilets might not grab as much attention as a shiny new vanity or custom tile, but they’re used every single day. And when installed with care, they don’t just blend in; they hold up, quietly doing their job without needing fixes or fuss.
For remodels in Southwest Florida, where moisture, movement, and frequent use come into play, a strong install turns a simple fixture into one less thing to worry about. Done properly, it fits right, works smoothly, and holds up over the years. That kind of finish is what brings a bathroom remodel together fully, leaving you with a space that works as well as it looks.
Upgrade your bathroom with the unparalleled expertise of CR Benge Construction, Inc. Our toilet installation services guarantee a seamless and leak-free finish that enhances your bathroom’s functionality and aesthetic appeal. Trust our experienced team to bring precision and craftsmanship to your remodel, transforming your space into a sanctuary of comfort and style. Contact us today to turn your bathroom into the perfect oasis.